Showing posts with label information. Show all posts

Tuesday, November 20, 2012

How to Get a Japanese Tourist Visa for Filipinos

I would love to go back to the Philippines to spend the holidays but the airfares are impossibly high. So my boyfriend decided to just come here in Japan instead. Surprisingly, it's a lot more cheaper. Our only fear was that his visa may not be granted because the Japan Embassy are very strict in issuing tourist visa for Filipinos. I can't blame then since it is also our doing. A lot of Filipinos try to obtain a tourist visa with malicious intentions. But this is not to say that obtaining a tourist visa is impossible. The key is strict compliance with the Japanese Embassy requirements. 

Basic Requirements: 

1. Passport- Make sure your passport won't expire within 6 months. I think the more stamps you have on your passport from other countries, the higher your chances. This would show that you are a regular tourist. I heard that it is also easier for those who were issued Japan visa before. 

2. Application Form- This can be downloaded from the Embassy's website or from accredited agencies. 

3. Income Tax Return- As much as possible, submit your ITR. I think this reflects that you have a job and you are paying your taxes. My boyfriend is a free lancer. In his case, he submitted a letter explaining why he won't be able to submit an ITR. 

4. Bank Certificate- This shows that you can support your trip or that you are in good financial standing. I don't think that the Embassy would be impressed if you have lots of money but you only opened your account a few days or weeks before your application. I think your bank account should be at least 6 months with reasonable amount of money on a regular basis. 

5. Photo- Just go to a studio and ask to have your picture taken for Japan Visa. They know what to do. 

6. Itinerary- The Embassy requires that you enumerate the things you will probably do in Japan. If you are in a package tour, just submit the tour's itinerary. If you're making it alone, make sure that your itinerary looks reasonable and within your budget. You can't go on touring from one place to another if you only got 50,000 Php. 

7. Birth Certificate- Most probably, if you have a passport you also have this. 

Other Requirements: 

1. Invitation Letter and Letter of Guarantee - These would be coming from your relative or friend in Japan if you have one. I think with these letters, you chances of getting a visa is higher since someone in Japan will be responsible for you. If you're joining a tour, they will act as your guarantor. If your going alone, you don't have to submit any of these. These can be downloaded from the embassy's website

2. Residence and Bank Certificates- If you are being invited, make sure that a residence and a bank certificate are also sent to you. The residence certificate is a testament that the person inviting you really lives in Japan legally. The bank certificate testifies that your guarantor tor inviting person can support your stay. The residence certificate can requested from the City Office. 

3. Income Tax Return- Your guarantor and invitee must also submit an income tax return from the city office. In my case, I wrote a letter explaining I don't have an ITR yet because I was just here for a few months. 

4. Photos- If you are visiting a friend or relative, show photos that would prove you are related. 

Also, take note that the Japanese Embassy does not accept direct applications. You have to go through accredited agencies to process your visa. My boyfriend had his at Reli Tours in SM Megamall. They are open from Mon to Sun so it's very convenient. He made sure that all documents are complete before he passed his requirements. After 5 working days, he got his Tourist Visa, thankfully. 


Monday, November 5, 2012

Home Made Body Scrub- Sugar and Olive Oil

Body scrubs is a good way to make your skin finer and softer. Scrubbing exfoliates the skin and washes away dead skin cells. It also whitens the skin if done regularly. Here in Japan, body scrubs are expensive that  led me to the discovery of a home made scrub that is as effective and more affordable- the Sugar and Olive Oil Body Scrub!

Things Needed: (for a medium built person)

1 tbsp. of olive oil
2 tbsp. sugar (white or brown is okay; the finer the better)
lemon (optional)

How to Prepare: 

1. In a small bowl, put 2 tablespoons of sugar
2. Mix 1 tablespoon of olive oil. 
    The sugar should look like wet sugar but not dripping. 
    Too much olive oil can be hard to rinse. 
3. You can squeeze some lemon for better smell but it can also dry the skin. 

How to Apply:

Just apply it like commercialized body scrubs. 
1. Wet your body. 
2. Apply the scrub and rub your skin in circles. 
    Pay special attention to the armpits, elbows, knees and butt. 
3. After 5 to 10 minutes, rinse tour body with soap. 
    This would help wash away too much moisture from the olive oil. 

You can also use this as a facial scrub and it works well with no harsh side effects.

Enjoy scrubbing and make your skin glow!


Monday, June 4, 2012

How to Get International Driving Permit in the Philippines

Getting an international driving permit is not a difficult process. Forget the high fees that driving schools collect to process your international driving permit. Forget the one-week waiting time that driving schools ask of you. An international driving permit is the fastest document you can get in the Philippines as long as you have a drivers license that's valid for at least a year.

Here's how to obtain an international driver's permit. 


Things to Bring:
1. Drivers License, valid for at least 1 year. 
2. OR of the Driver's License
3. 2x2 picture on a white background
4. P1800

The Process:
1. Go to any AAP Branch. This is the only company in the Philippines that can 
officially release international drivers permit. I processed mine at EDSA-San Juan AAP. Their main branch. 

2. Get an application form from the reception. They will give a number once you have filled up the form. 

3. Once you have a number, submit your paper at the Receiving Section. (Window 2 in their Main Branch)

4. Wait for your name to be called. Once your name is called, you have to pay the P1800 at the Cashier. 

5. Give the receipt to the Releasing section and pronto you have your driver's permit!

Based on my experience, it only takes an hour to get an international drivers' permit. I hope the driving schools will cut their crap of collecting sky-high fees. 

Saturday, April 7, 2012

How to Get to Pundaquit, San Antonio, Zambales

Pundaquit, San Antonio is a fishing village that serves as a gateway to the famous Anawangin Cove. 

How to Get to Pundaquit, San Antonio, Zambales:

A. Via Public Transportation

1. Ride a Victory Liner Bus bound for Sta. Cruz or Iba.
Victory Liner has stations at Pasay, Cubao, Kamias and Caloocan. I suggest you go to the Caloocan Terminal since a bus leaves for Iba every 30 minutes. First trip is at 4:00 am and last trip is at 11:30 pm.
Fare is about P 270.

2. Go off the San Antonio Municipal Hall.
Ask the conductor to drop you off at San Antonio Municipal Hall. From Olongapo, you will pass by Castillejos  Town and San Marcelino.

3. Take a tricycle ride from the Municipal Hall to Pundaquit Beach.
In front of the Municipal Hall is the tricycle terminal. The terminal is open 24 hours so even if you travel in the wee hours, there are tricycles available to bring you to Pundaquit Beach. The drivers are familiar with the resorts in the area so you just tell them to what resort you're planning to stay or just tell them that you're heading to Pundaquit Beach. Fare is about P 30 per person. Also, the road from the Municipal Hall to Pundaquit Beach seem to be deserted but do not be scared. Just a few kilometers ahead is the beach!

B. Via Private Transportation


1. Drive through NLEX
Hitting the NLEX depends on where you will be coming from. You can take Balintawak Exit, Meycauyan, etc depending on your starting point. Point is, you have to drive along NLEX!

Travel Time:  About 40 minutes to 1 hour depending on what exit you take.

2. Exit at San Fernando
From NLEX, exit at San Fernando, Pampanga. You will see Robinsons Pampanga upon your exit. Drive opposite of Robinsons Pampanga. Follow the road signs to Olongapo. You will pass by Lubao and Guagua.

Travel Time: 40 - 60 minutes

3. Enter Bataan through Layak Junction then Drive through Olongapo
You will enter the area of Bataan when you pass by Layak Junction. The Layak Junction has a monument. From the Pampanga road, take the road on the right. There is a tricycle terminal on the corner of this road.

Then just drive straight and follow the signs leading to Olongapo. Once in Olongapo, you can still see signs going to Pundaquit or San Antonio. Just drive through the towns in Olongapo including Subic Town Proper.

Travel Time: 40-60 minutes.

4. Pass by the towns of Castillejos and San Marcelino

After Olongapo, you will pass by the towns of Castillejos and San Marcelino. Each town is about 7 kilometers and will take you about 30 minutes to drive along these towns. Be mindful of the signs especially when you reach San Marcelino. Upon seeing Dr. Yangco Educational Foundation at San Marcelino, turn left to head to San Antonio. There is also a road sign to signal you where to turn left. If you drive straight ahead, you will be heading to San Narciso.

Travel Time: 30 minutes

5. Turn left at the Cemetery then Head to Pundaquit Beach

Once you turn left, a public cemetery can be seen at the right side. Then there will views of fields and mountains until you reach the town proper. Drive straight until you reach the Municipal Hall on the right side of the street.

From the Municipal Hall, turn left on the road with signs pointing you to the resorts. The road seem to be deserted but its concrete. You will also pass by a one-way steel bridge. You can also ask a tricyle to lead you to Pundaquit Beach then pay him for about P60.

Travel Time: 30 minutes

Cost:

Fuel
Diesel:  P 1500- P 2000
Gas:     P 1000- P 1500

Toll
Meycauyan Exit: P 45
San Fernando Ext: P 112


Sunday, March 11, 2012

Vietnam Travel Guide and Information: The Cao Dai Temple and Cu Chi Tunnel Tour Package

Vietnam has a proud history of successfully resisting the US Forces. This was largely due to the genius creation of their tunnels. At the same time, Vietnam is also a melting pot of Asian religion such as Buddhism, Confucianism and Taoism. Hence, its worth to visit the infamous Cao Dai Temple and the Cu Chi Tunnels for historical and religious appreciation of Vietnamese culture. 

Vietnam Tour Day 1: 
The tour to the Cao Dai Temple and Cu Chi Tunnel started at around 8:30 am when an airconditioned bus fetched us from our hotel. Another hour is spent from fetching other tourists in their respective hotels. So it was about 9:30 am when our bus was officially bound for Cao Dai Temple.

Along the way, we stopped at handicraft factory and store where people with disabilities create beautifully-crafted maches and engravements. For budget travellers, however, cheaper versions of these handicrafts can be bought in the city. 

making art pieces with egg shells

sample art pieces on lacquered wood
It was before lunch time when we reached Cao Dai Temple. Initially, I thought that Cao Dai Temple is just one big temple. I was surprised that Cao Dai Temple is actually a community of temples. There were even housings for volunteers and members of the community. The Cao Dai Temple is about 3 hours from Ho Chi Minh. 


the main temple of Cao Dai Temple
Footwear should be taken off before entering the main temple.  

leaving his footwear behind
We were just in time to witness their noon prayer. 

the devotees' at Cao Dai Temple
From Cao Dai Temple, it took us another hour and a half to reach Cu Chi Tunnels. (We also had our lunch first on a roadside cafeteria.)

There's an entrance fee of 2 USD in the vicinity of the Cu Chi Tunnels. Upon entering the area, we watched an old  20-minute video about the historical significance of the tunnels.
1

while watching a historical video 
 Then our tour guide showed us around the area including the various uses and sizes of tunnels, the traps and the shooting range. 

vietnamese trap made of sharpened bamboos

an entrance to a tunnel

a US tank captured by the Vietcongs

firing some shots


After an hour and a half, we were led into the tunnels to really experience going through them. It was the best part of the day!

inside the tunnel trail
It was almost 6:30 pm when we reached Ho Chi Minh after a day of peeking through the pages of Vietnamese history. 

Expenses:

10 USD -  Tour Package (Tropic Tours)
 2 USD  -  Entrance Fee to the Cu Chi Tunnels
 4 USD  -  Lunch
 1 USD  -  Share for the Tour Guide and Driver's Tip

17 USD  - Total Expenses


Reminders: 
1. Wear a light shirt. Sleeveless are not allowed in the temple. 
2. Wear a hat or bring an umbrella. 
3. Bring water!


Saturday, March 10, 2012

Vietnam Travel Guide and Information: Going Around the City

A guide on maximizing your time when going around Vietnam 

Ho Chi Minh, Vietnam is generally a walkable and safe city. Traffic is also light compared to other countries. There are a lot of trees and greenery everywhere.

Here are some tips to enjoy the sights of Ho Chi Minh: 

1. Take ONLY the Mai Linh and Vina Sun taxis.  As a lot of blogs and websites have mentioned, the taxis in Vietnam are the worst scams esp. if they sense that you’re a tourist.  They would take you around to see some tourist spot although you’re not interested to see them. So just make sure to take only the trusted names in Vietnam- MAI LINH and VINASUN. Make sure to check if the meter is working. Flag down rate is 10.000 VD. From the aiport to District 1, fare would be about 110.000 to 140.000 VD or about 7 USD.

Mai Linh Taxi in Vietnam

Photo Credit: http://www.vietnamtravel.org/taxis-saigon-avoid-being-taken-ride
 

2. Print out the address of your hotel.  It was a good thing that I took note of the exact address of the hotel where I stayed. Because of it, the taxi driver who picked me up from the airport was able to locate the hotel.  I just showed him the address and he drove me there since we cannot understand each other. (Haha!)

3. Wear light and airy clothes and always bring water. Just like the Philippines, Vietnam is a tropical country so the weather is either hot or humid.  So it makes sense to wear shorts and sleeveless or shirts during tours. Also, bring huge amounts of water although there are a lot of stores where you can buy bottled waters. The heat could be dehydrating. Wear a hat or bring an umbrella.

Boating on Vietnam's countryside
4. Ask for a city map. So you can have the freedom to move around the city, print out a city map or ask a map from the hotel where you're staying. If you're in District 1, you can actually visit the historical places on foot. 

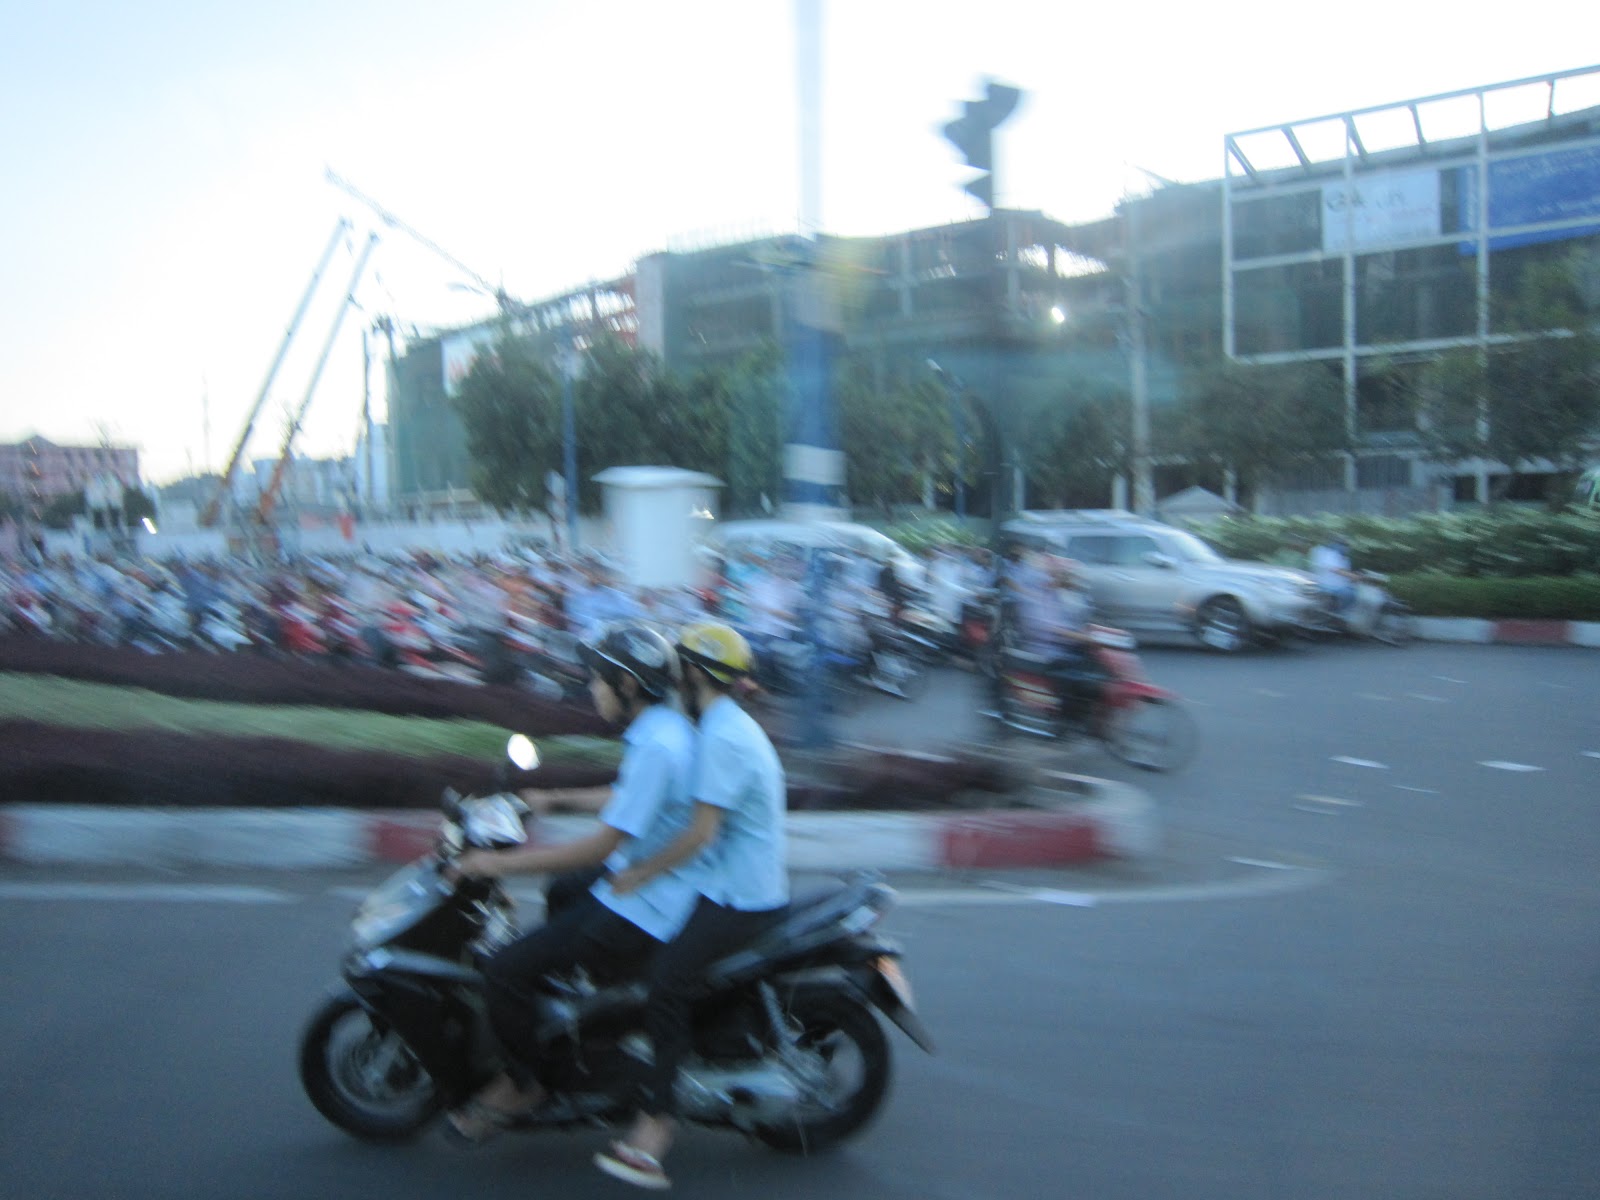
5. Watch out for motorcycles! Ho Chi Minh is like a motorcycle city. The motorbike is their primary means of transportation- female or male, young or old. So be careful of whizzing motorbikes when walking along the streets. 

blurred motorcycle traffic in the background


And just like in any other place, always be mindful of your things especially in busy and crowded areas!

Friday, March 9, 2012

Vietnam Travel Guide and Information: Budget Travel in Vietnam

This article discusses relevant tips on handling money when visiting Vietnam. 

Here are some tips on handling your budget while visiting Vietnam:

the Vietnamese Dong

Photo Credit:  http://www.chinapost.com.tw/business/asia/vietnam/2008/06/24/162405/Vietnam-trade.htm
1. Exchange your dollar bills to Vietnamese Dong. The value of Vietnamese currency is about USD1 to VD 20.000. In effect, large dollar bills would not be helpful if you plan to shop and dine around the city. For less than a dollar you can already buy a meal. Some Vietnamese tend to withhold change if you pay them in dollars. Don’t fall into letting go of your few bills by changing your dollars to their currency. 


goods sold at Ben Than market

Photo Credit: http://blog.travelpod.com/travel-photo/ngrick/13/1282250917/3_inside-ben-thanh-market.jpg/tpod.html
 
2. Know the prices of goods. Admittedly, I am not a good in haggling so I was fooled a lot of times when I bought some items in Vietnam. For example, I bought 25 sachets of coffee for 80,000 VD when I could actually buy 50 sachets for 100,000 VD. Then I bought a small cake along the streets for 10,000 VD when the actual price is 5,000 VD. I really felt bad when I realized my foolishness that I stopped buying anything during my stay.


3. Forego shopping , if you can. Since I am from the Philippines, I am familiar with cheap goods which are also sold in Vietnam. The clothes,bags and other goods that they sell on the streets and the overrated Ben Than Market can be bought at a cheaper prices in Malaysia, Thailand and the Philippines. The values of shirts and bags that we saw are twice or even thrice as much as the price in other countries.


4. Look for cheaper tours. The tour packages advertised on the net are twice as much as those you can find along the streets of Ho Chi Minh. I highly recommend Tropic Tours with several offices scattered around District 1. They offer one of the cheapest tour packages in and around Ho Chi Minh. 


tips, tips, tips

Photo Credit: http://soshable.com/social-networking-for-business-8-tips-on-how-to-relate-and-communicate/
 5. Include tips in your budget. Just like in the Philippines, people expect tips after they have served you. Hotel porters tend to linger in the room after they brought your bags waiting for tips. Tour guides also tend to remind you to give him tips. Even waiters from roadside food stalls expect tips. To save yourself from embarrassment, include tips in your budget. I usually give them 30.000 VD or 1 USD. 


Monday, September 26, 2011

Review of Online Job Sites in the Philippines

I've been job hunting online for the past weeks using various job search engines. This led me to share the following reviews of online job sites. Let me share my insights about them.

1. Search jobs at Jobstreet but as much as possible don't submit your application online. 

website: www.jobstreet.com


I've been using Jobstreet since I was in college to search for job vacancies. The good thing about jobstreet is that a lot of prominent companies post job vacancies on this site. The job postings are also reliable since companies pay for each job post. However, as much as possible don't submit your applications on this site. I've applied to various jobs here and submitted applications here but I haven't got a positive response. It's always the application is in process then the application is closed.

Honestly, I don't know if the staff of jobstreet actually considers every application. Modesty aside, I have excellent credentials. This can be attested with the fact that when I submit my application through a company's email add, I am always considered and most of the time, I reach the final stage of application.

Instead of submitting your application through jobstreet, send your application directly to the company stated on the job post. Usually, there's an email mentioned on a job post. If none, look for the company online and search for the email add of the company. If there's none, that's the only time you submit through jobstreet.

In a nutshell, Jobstreet's job postings are reliable but their screening and application processes are doubtful. 

2. Use Best Jobs for best results when searching for local employment.

website: www.bestjobs.ph

Obviously with the heading, I love Best Jobs. The best thing about this site is that it indicates exactly how to apply. The site prefers job seekers to send their applications directly through the company. Most of the job postings also indicate the salary and the duration- things that job seekers need to know. Based on my experience, Best Jobs give results. I mean most job postings that I've applied through Best Jobs, contacted me. This is also true with some people I know who use Best Jobs. The only edge that Jobstreet has against Best Jobs is that some companies that post jobs on this site are small-scale companies since it is a free site.
I haven't tried using this site for employment abroad but this is absolutely reliable with local employment.

In a nutshell, Best Jobs is highly recommended with local employment esp. with small and medium-scale companies.  

3. To ensure safety and reliability, use Work Abroad for overseas employment. 

website: www.workabroad.ph


Yes, I also searched jobs overseas and workabroad.ph is the most reliable site for overseas jobs. First, the agencies who listed the jobs have licenses from the POEA. Second, you can check through the site the approved job orders by POEA and which agencies offer them. Third, agencies actively searches the jobseekers' profiles uploaded on the site. Lastly, the site offers a lot of information regarding working abroad including placement fees, visas and other requirements. Thus, it can be said that when you use this site your worries about illegal recruiters will be greatly reduced.

In a nutshell, this site is very reliable for those who are searching overseas jobs.

4. Browse Jobs Db for additional list of possible jobs but don't rely on it too much.

website: www.jobsdb.com


The only reason why I use JobsDb is that I already exhausted the other three sites. So far, I don't reget not prioritizing this site. Honestly, I don't know if this site is reliable at all. Just like with jobstreet, I sent a lot of applications through this site and I haven't got ANY response at all- not even a mail telling me that the position is closed. I also uploaded my resume on Jobs Db, but I don't think it's ever been browsed. So if you'll use this site, just look at it as a supplementary job site. Actually, you don't need this site at all!

In a nutshell, if you have extra time use Jobs Db. 


The good thing about this online sites is that job hunting has never been this convenient!


See Also:

Related Posts Plugin for WordPress, Blogger...